
Web View Fragment [Kotlin]
![Web View Fragment [Kotlin]](https://res.cloudinary.com/pointblankdsce/image/upload/0.png)
Web View is a view that allows developers to display web pages and HTML strings inside an application. There are umpteen tutorials available on “Web View in an activity” . Thus, this post won’t deal with it. Here, I will share how to use Web View in a fragment, using Kotlin.
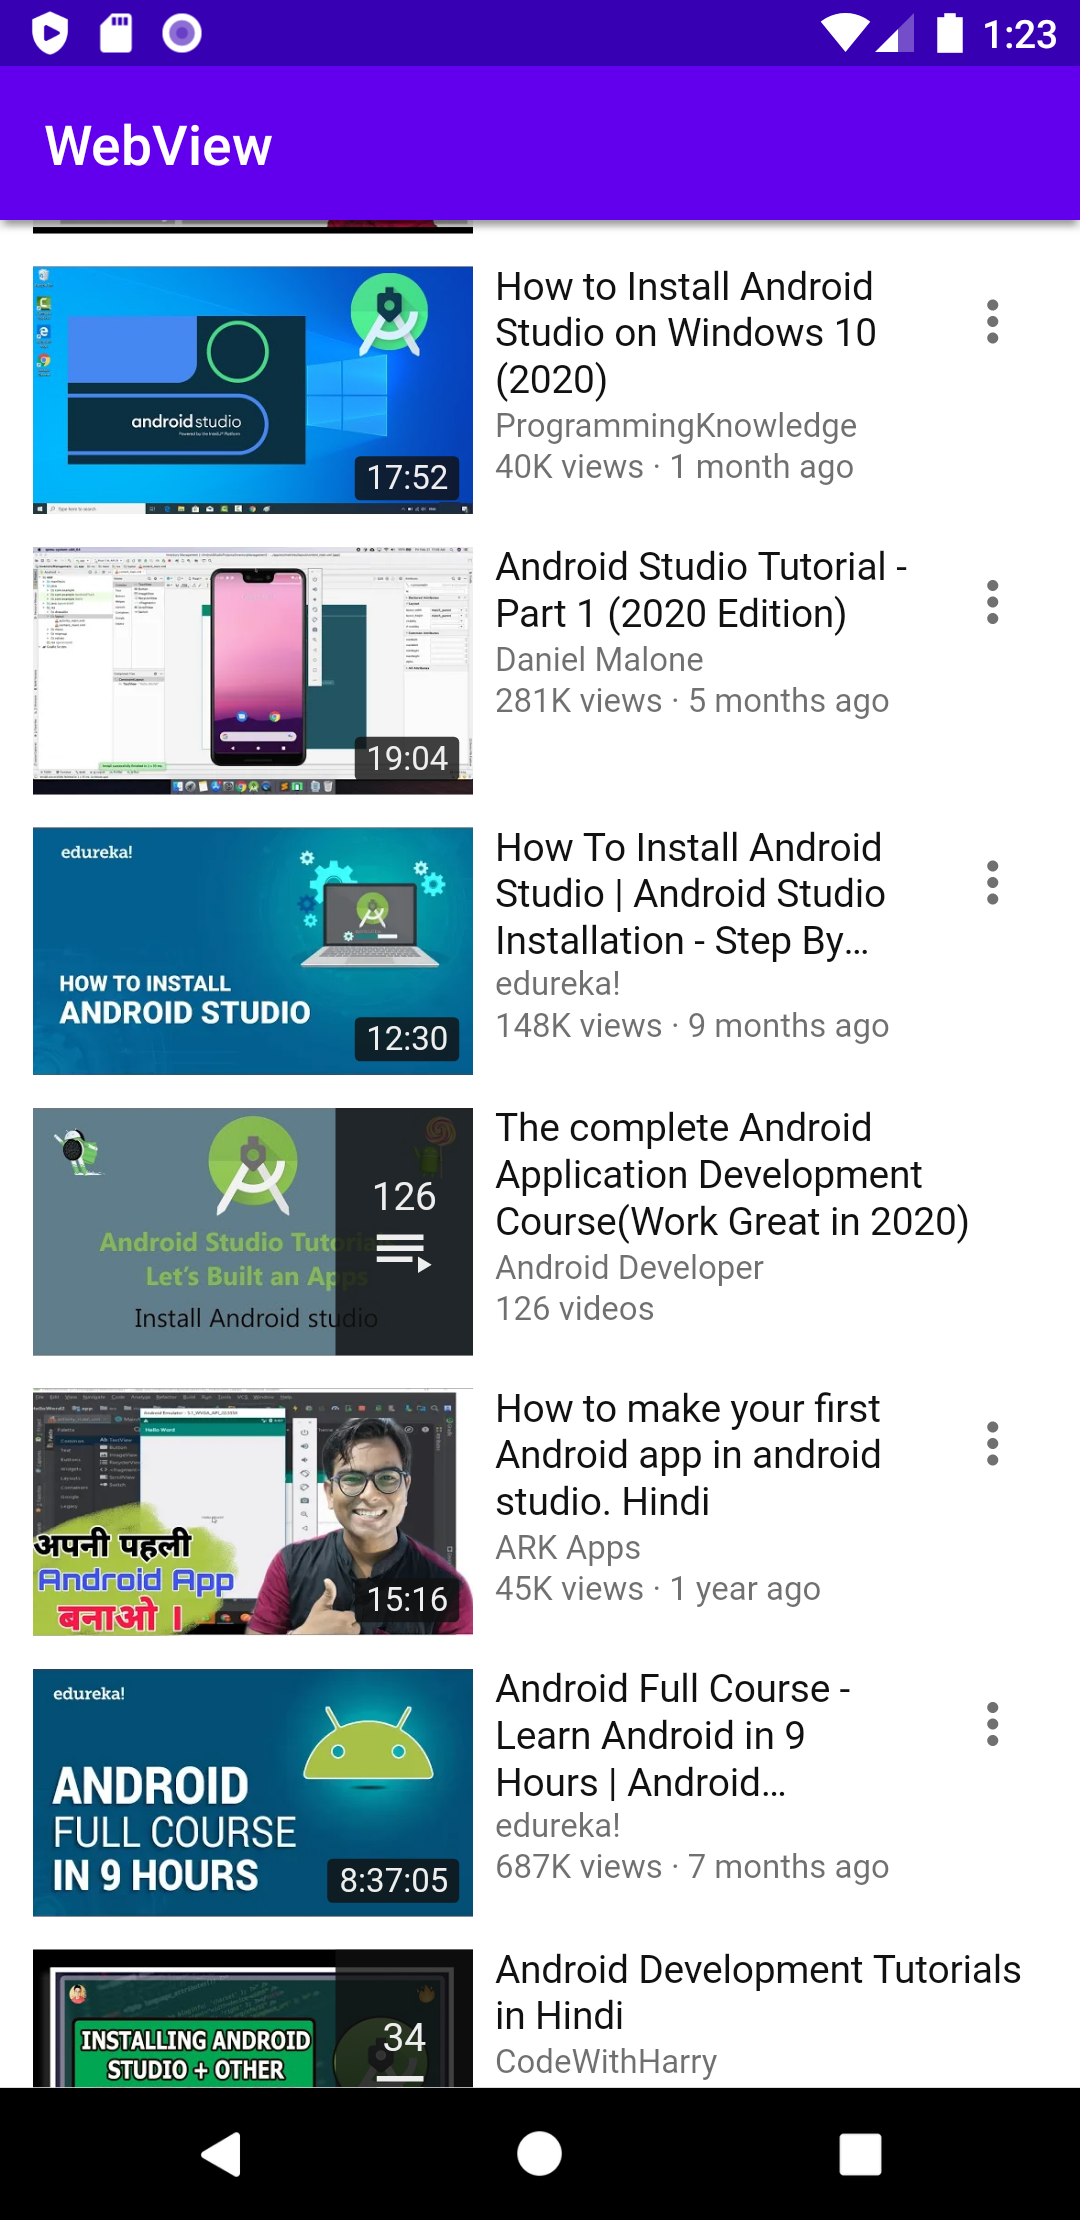
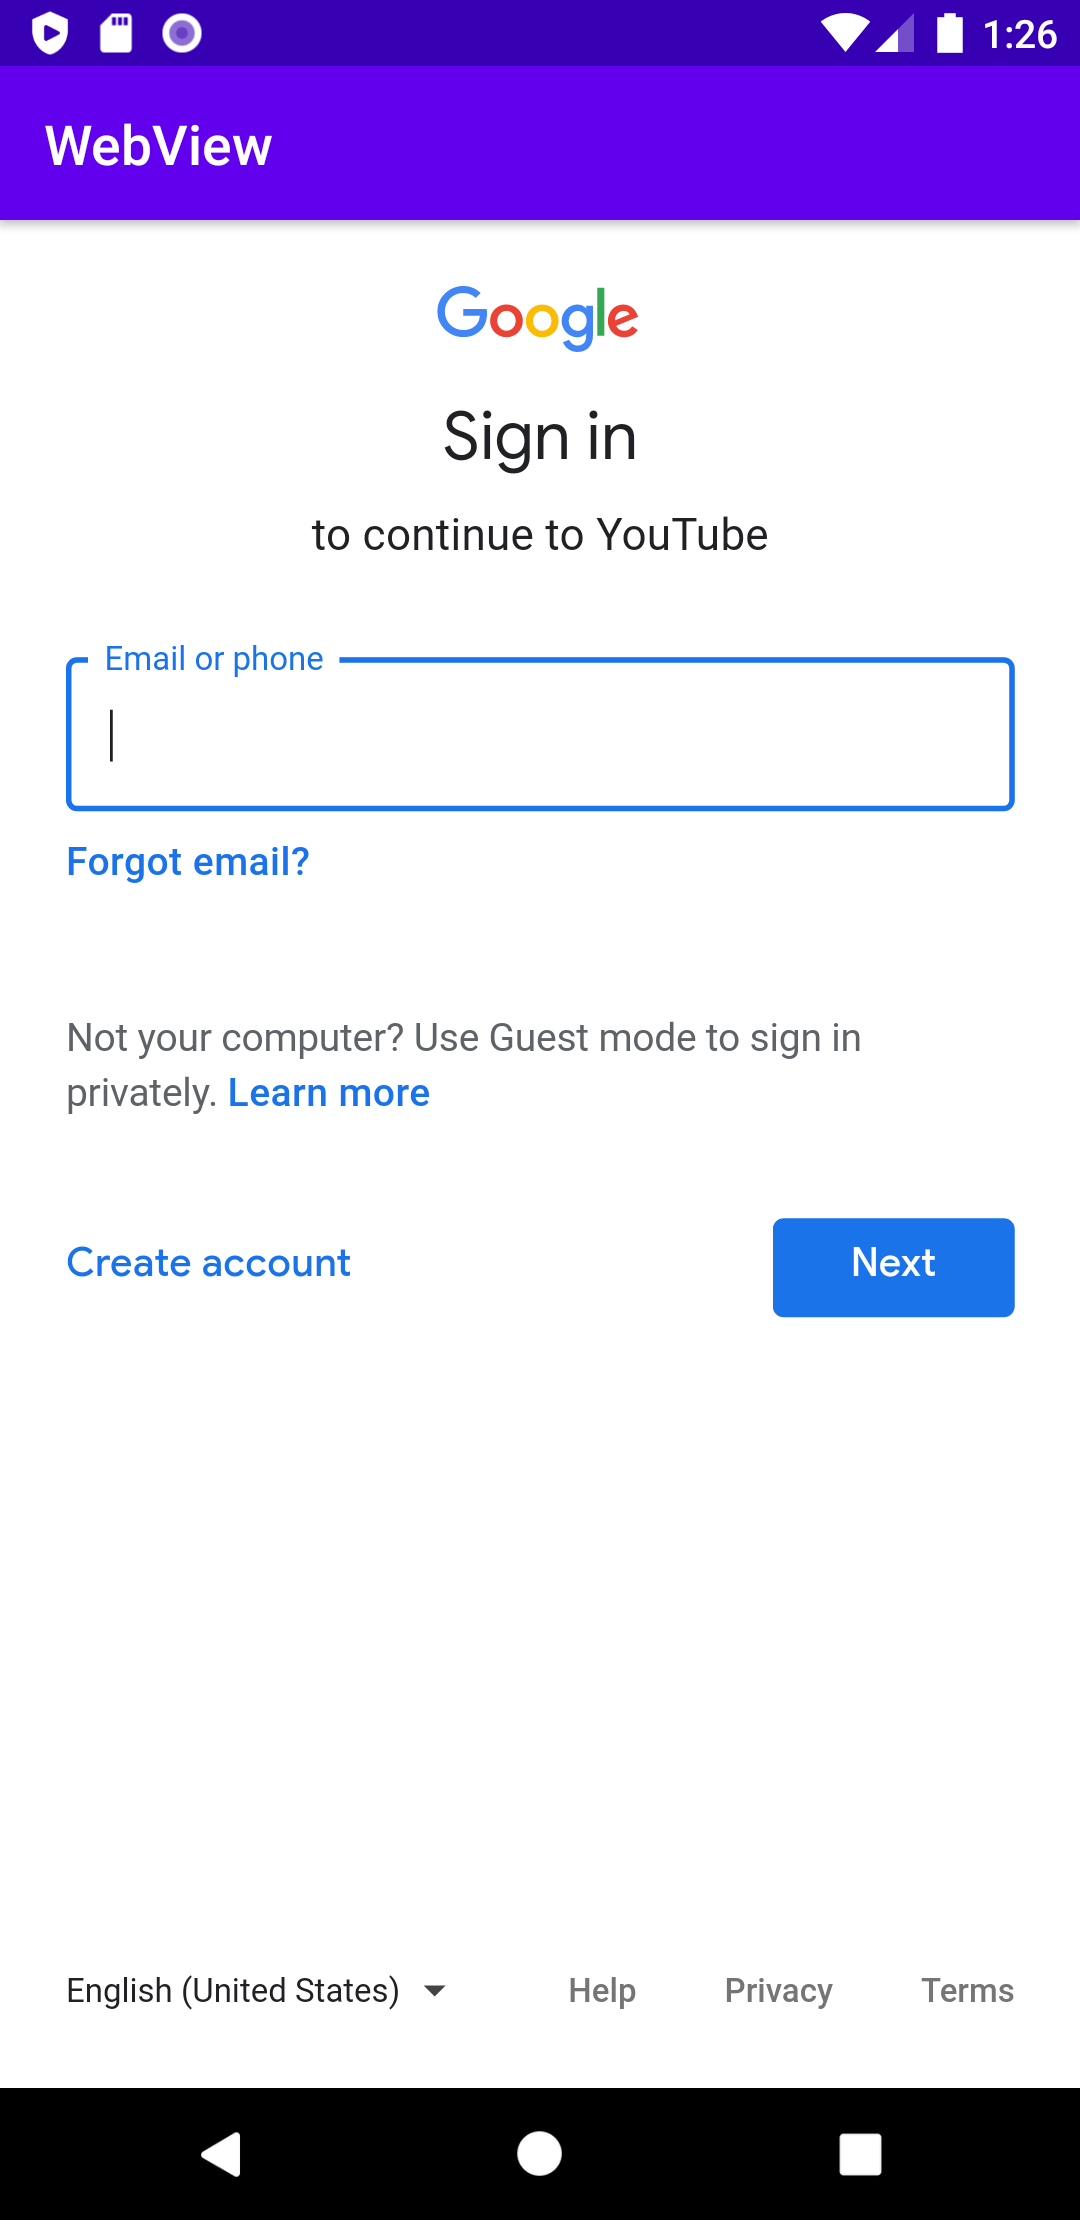
Refer to the steps that I have mentioned below to set up your own Web View in a Fragment. After following these steps, you’ll have a web view fragment ready that will look like this.
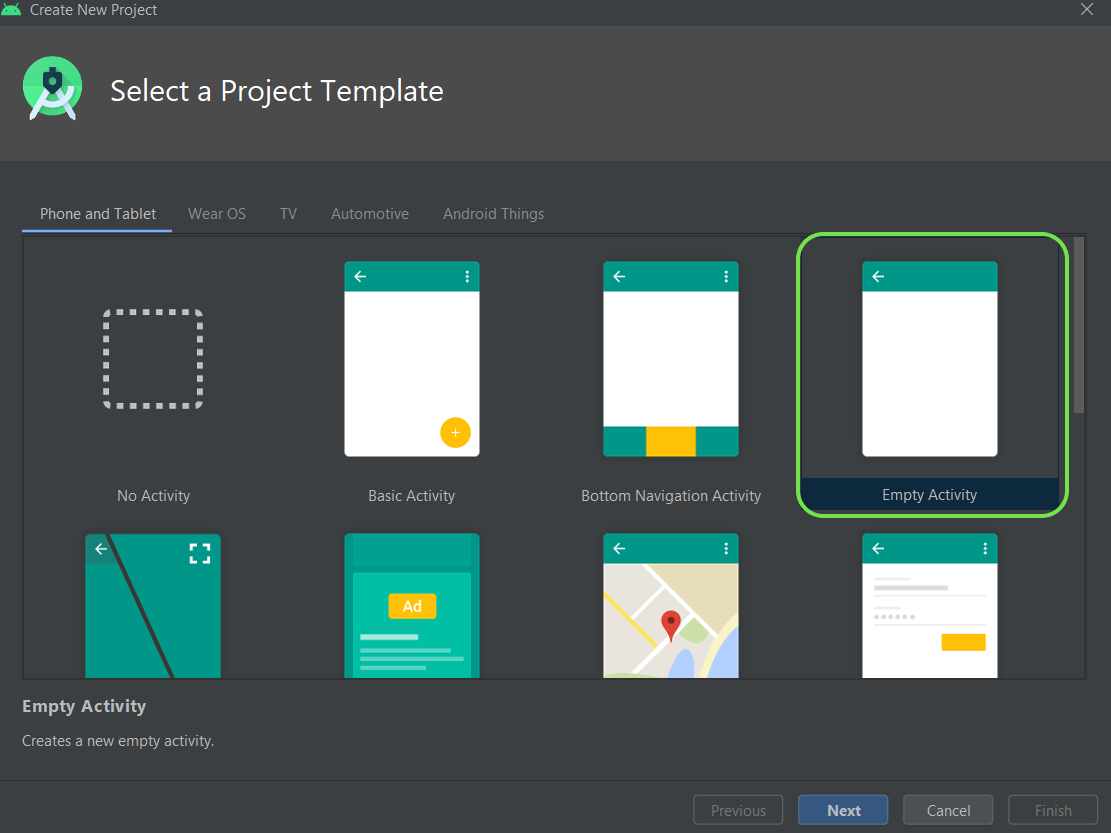
→ Create a new Android Project in Android Studio. Select Empty activity, then press next. When the next screen appears, enter the desired name. I named it “WebView”.

→ Always remember that in order to use web view, you require internet permission. Thus, we open the “AndroidManifest.xml” file and add the following code for permission.
<uses-permission android:name="android.permission.INTERNET" />
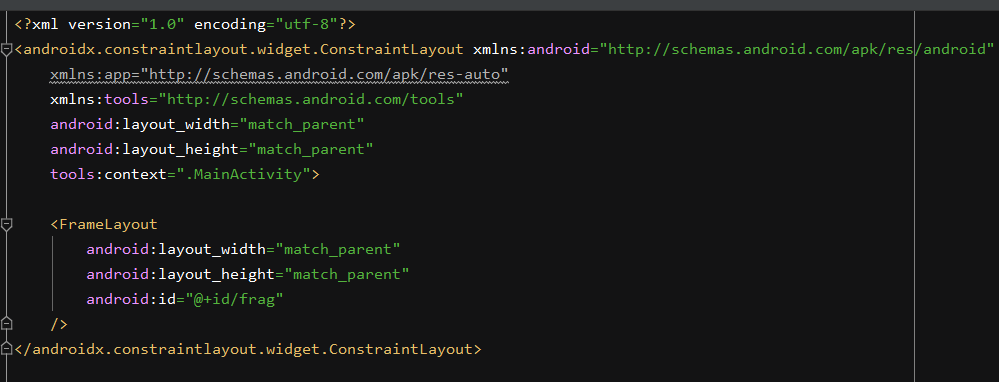
→ In the “activity_main.xml” file, we will use Constraint layout as base layout and add a <FrameLayout> inside it. Use the following code for this.
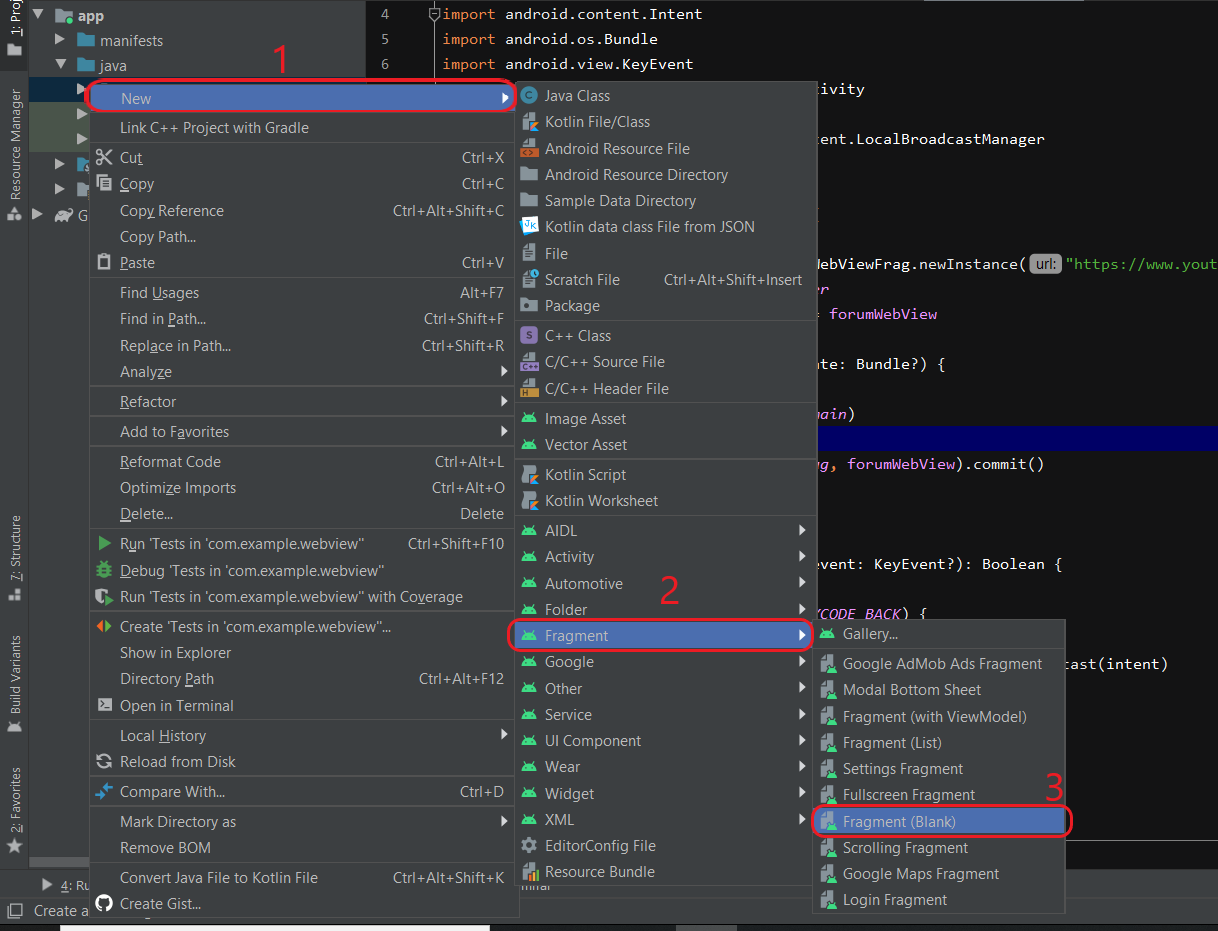
→ Create a new fragment. For this, right click on the package inside which you want to create the fragment. Select new > Fragment > Fragment (Blank).
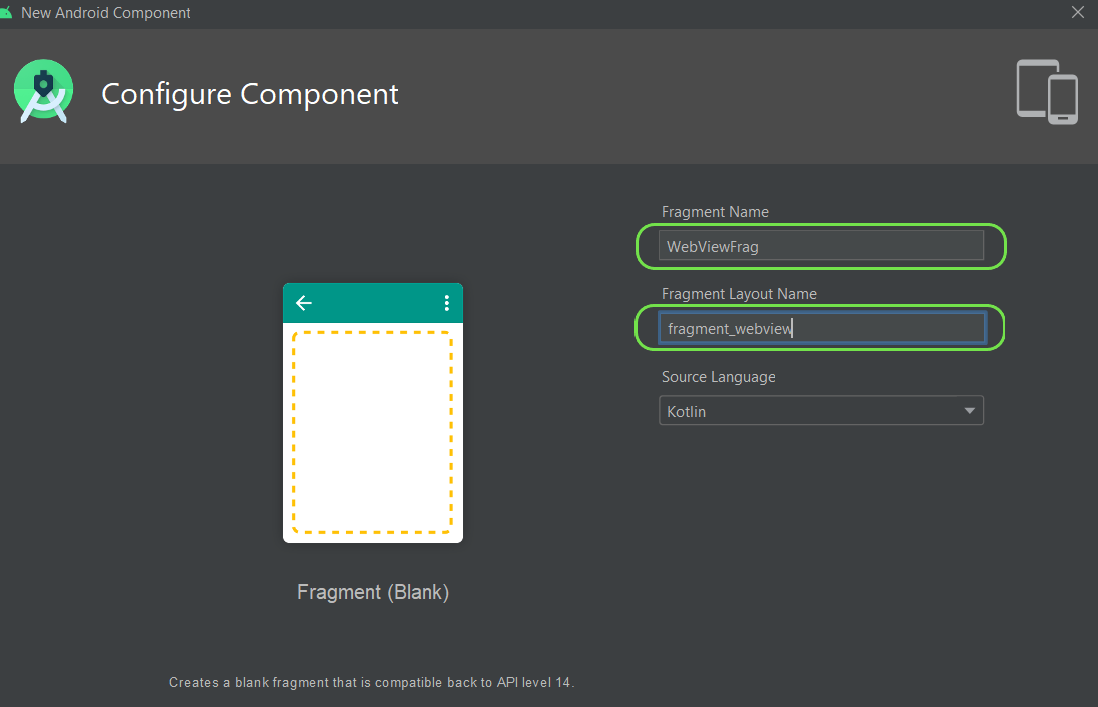
→ Create a new blank fragment, give it a desired name. I named it “WebViewFrag.kt”. Give a name to the fragment layout file, I named it “fragment_webview.xml”.
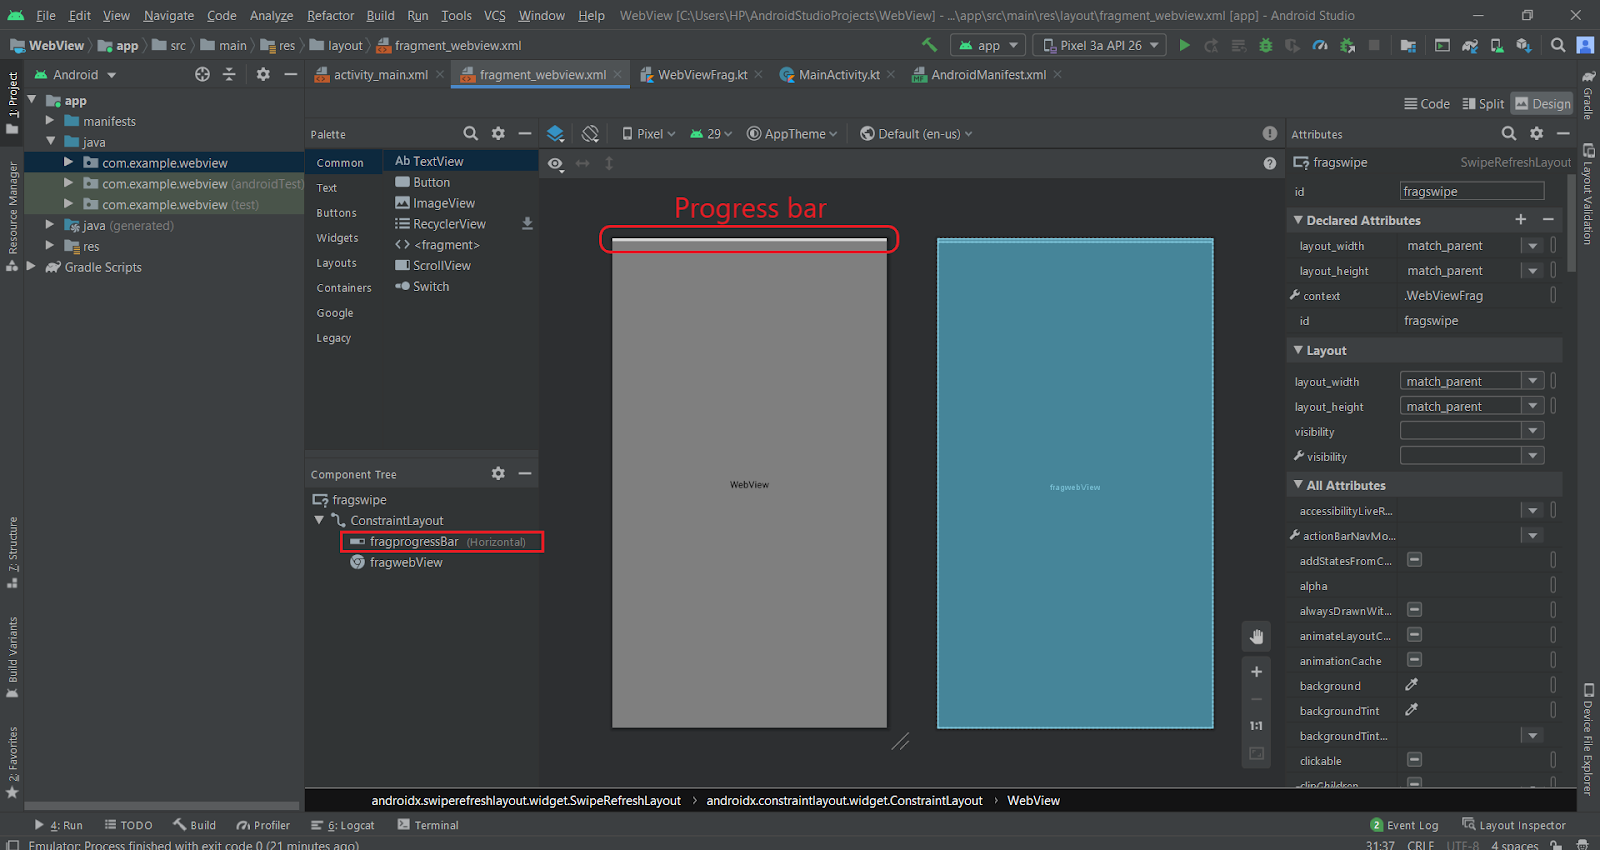
→ In the “fragment_webview.xml” file, use the following code.

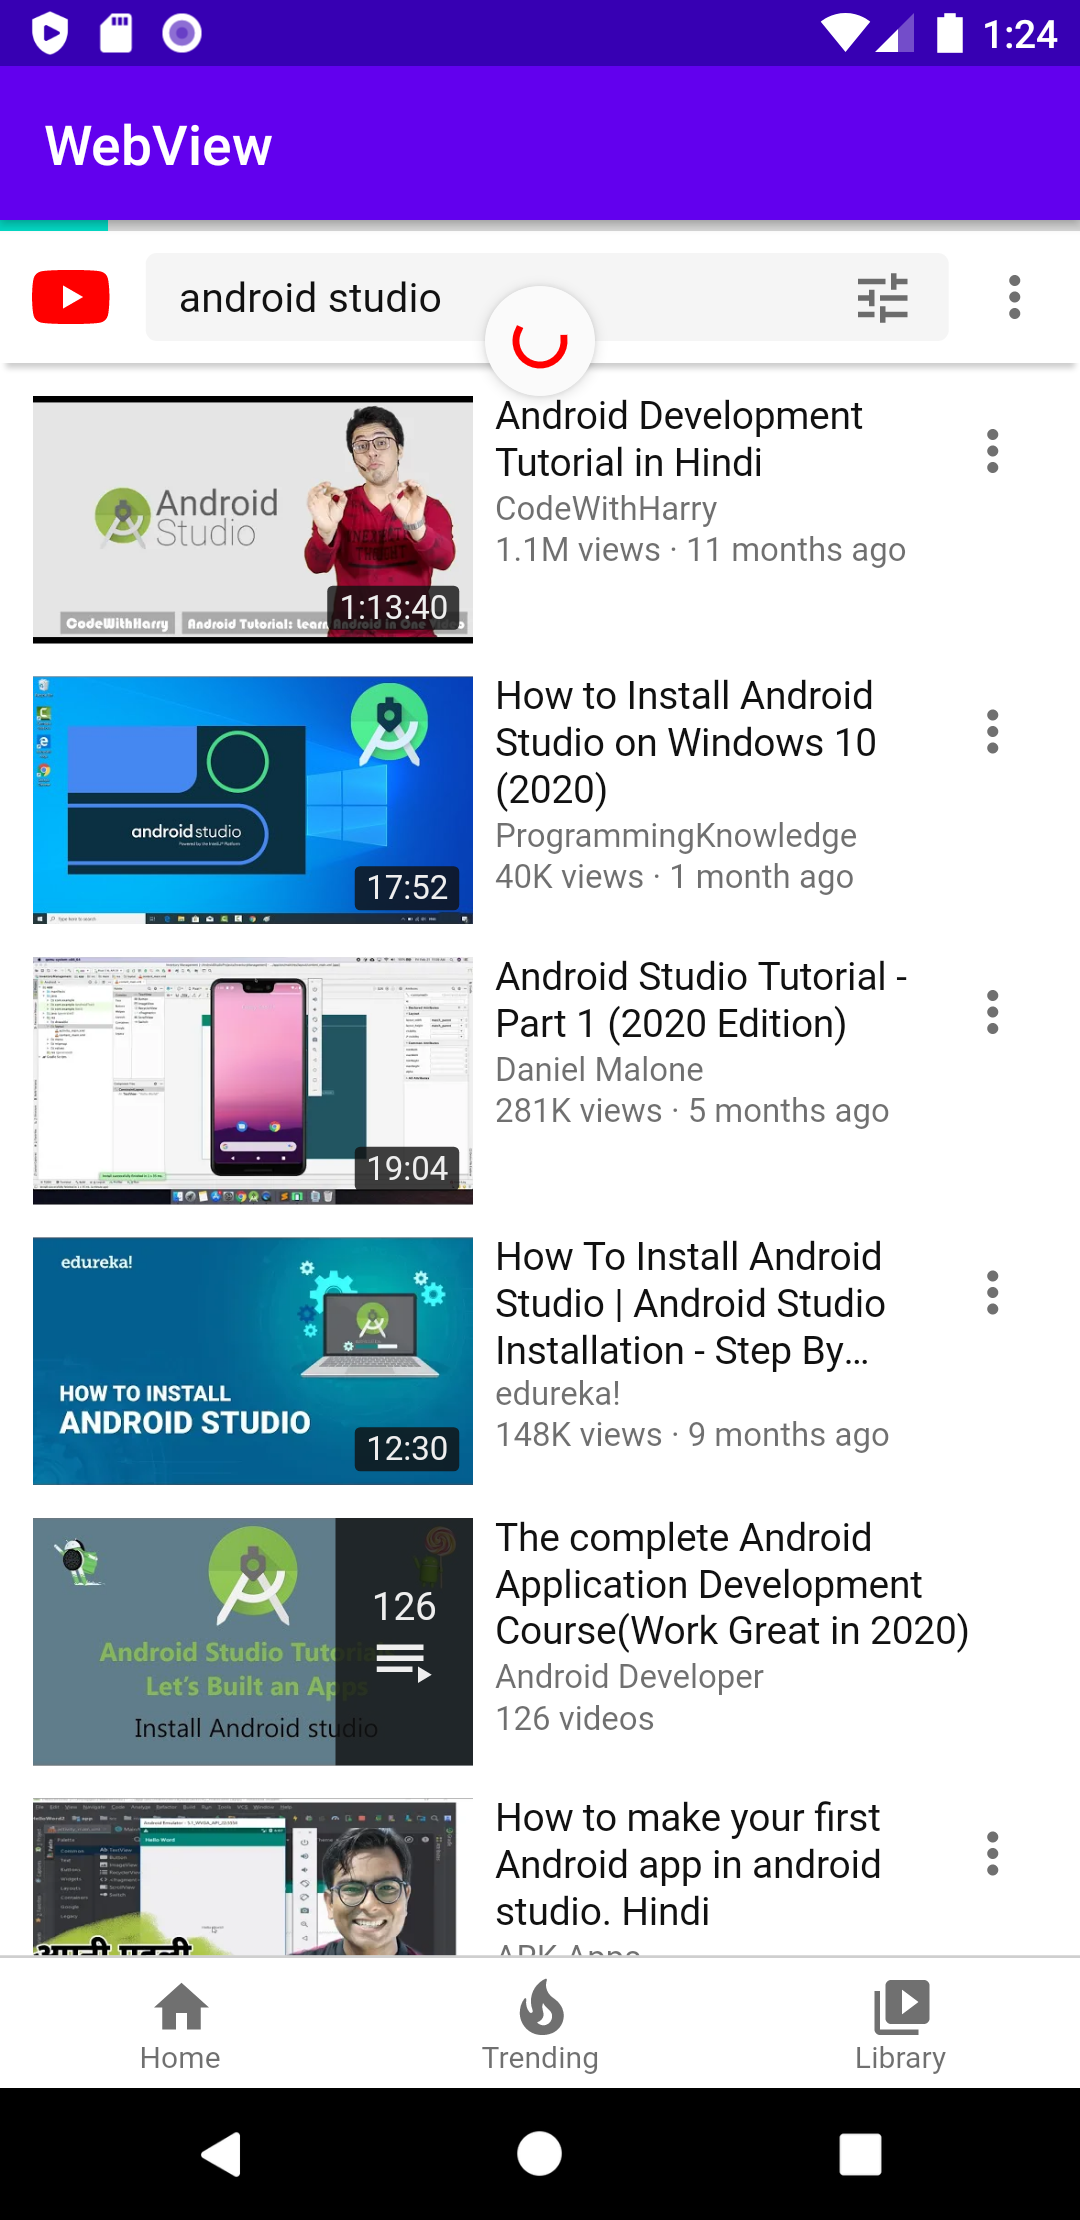
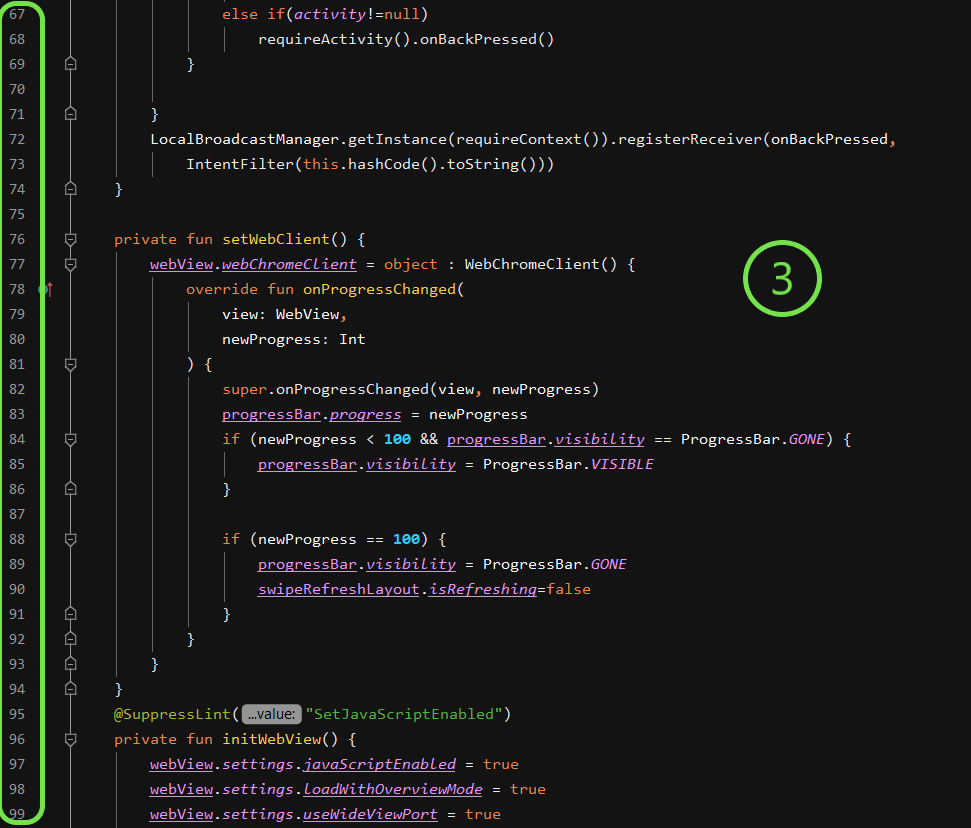
I’ve added a swipe layout, which helps the user to refresh the web page. I’ve also added a progress bar.
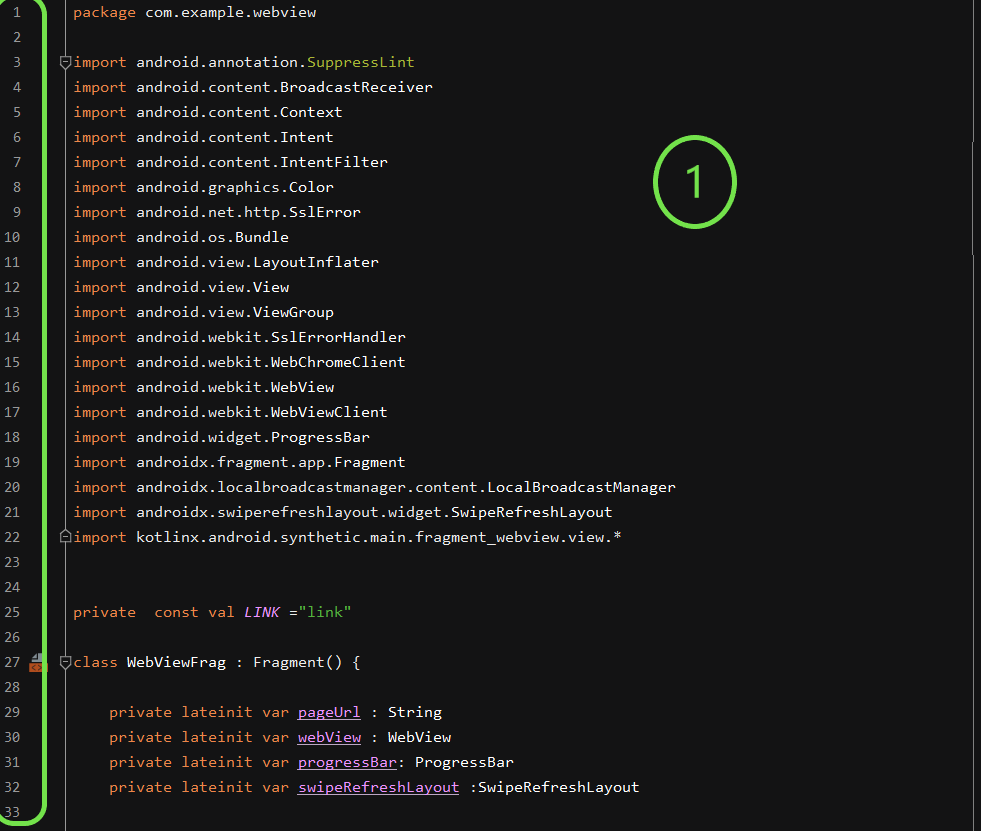
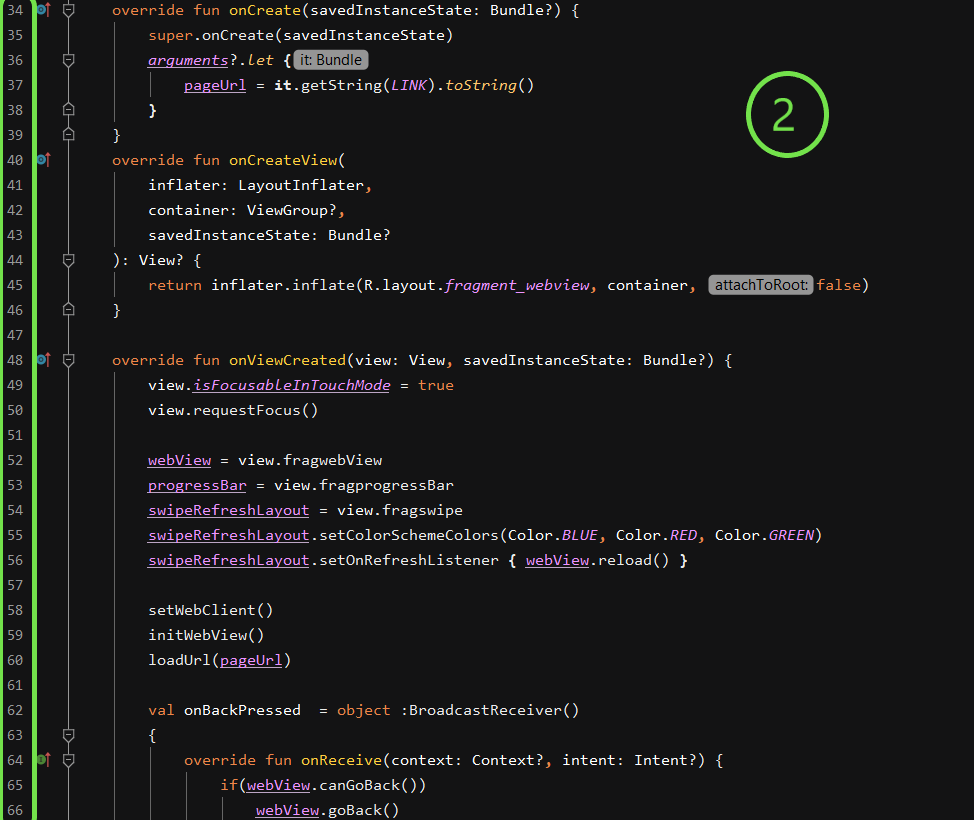
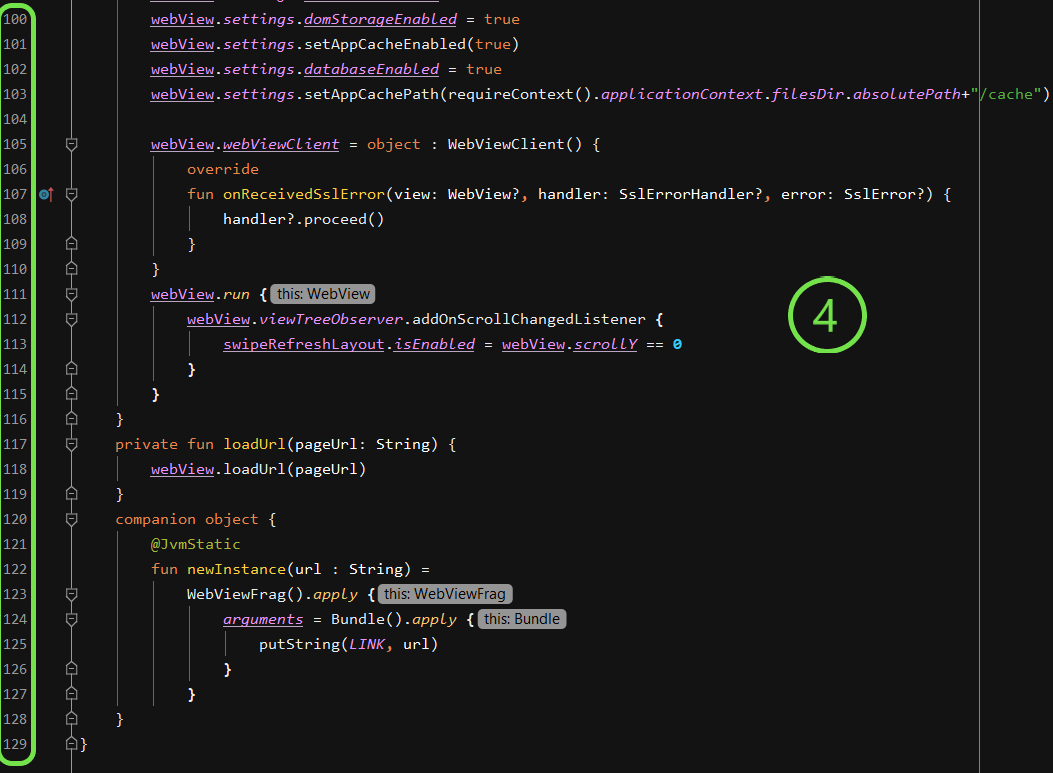
→ In the “WebViewFrag.kt” use the following code.
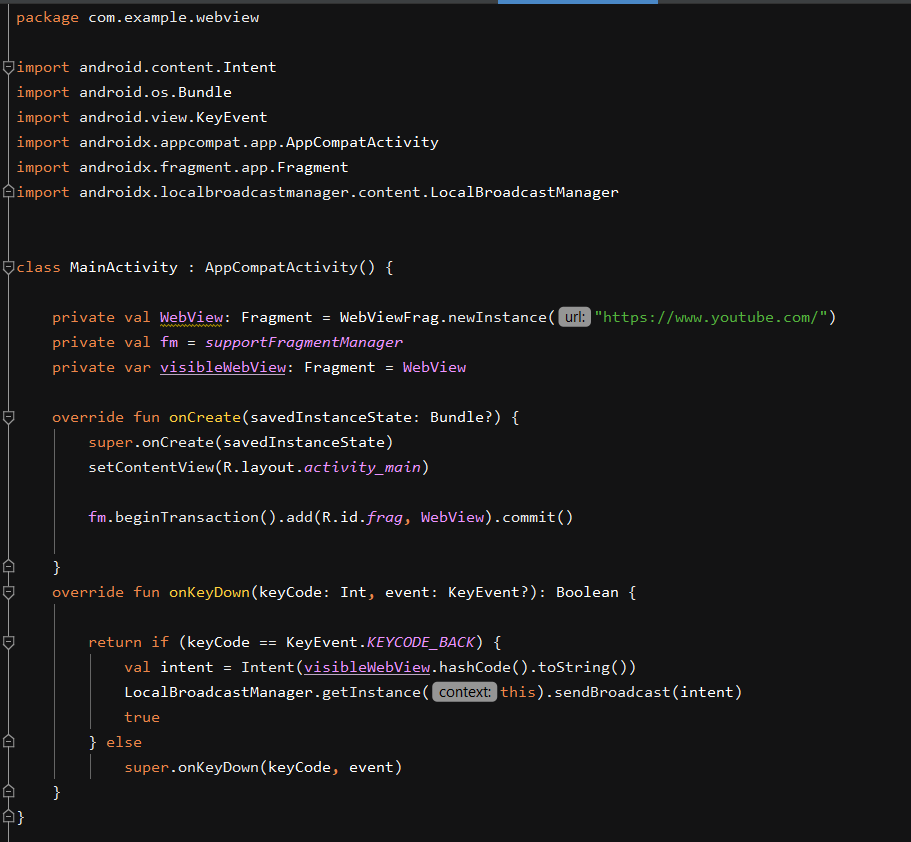
→ In the “MainActivity.kt”, I have set up a fragment manager. Modify the following line by entering the link of the website that you want to open in webview.
private val WebView: Fragment = WebViewFrag.newInstance("https://www.youtube.com/")
Use the following code, inside “MainActivity.kt”.
Run your app on the emulator. Enjoy your WebView!
Source Code: https://github.com/coder2699/WebViewFrag